1-Day Concrete Floor Coatings for Lifetime Value
Ever seen an epoxy garage floor that bubbles or peels after just a few months? Nine times out of ten, poor preparation is the culprit. The key to a durable, professional-looking epoxy floor isn’t just in the application – it’s all about the prep.
Properly prepared concrete creates a strong bond with epoxy, ensuring your floor resists peeling, stays smooth, and stands up to years of use. Without this foundation, even the best epoxy products can fail, leaving you with costly repairs and disappointing results. Taking the time to prep thoroughly is the difference between a flawless finish and a frustrating mess.
Whether you’re planning to tackle this as a DIY project or hire professionals, this guide will walk you through every step to get your garage floor prepped to perfection. Ready to transform your space? Let’s get started.
Preparation isn’t just an optional first step – it’s the foundation of a durable, professional-quality epoxy floor. Skipping or rushing through prep might save time in the moment, but it guarantees headaches down the road. From peeling and bubbling to uneven surfaces, most epoxy floor failures can be traced back to poor preparation.
Imagine this: a homeowner skips degreasing their garage floor, thinking grinding alone will suffice. A few months later, dark spots appeared under the epoxy where oil residues prevented proper bonding. Soon, the peeling begins, and what seemed like a quick project turns into an expensive do-over. This is why prep matters.
When done correctly, proper prep ensures the epoxy bonds directly to the concrete, creating a seamless layer that resists wear, moisture, and heat. This bond is what gives epoxy floors their strength and longevity. On the other hand, an unprepared or poorly cleaned surface leaves gaps where moisture, dirt, or grease can weaken the coating’s grip.
For DIYers, taking the time to prep thoroughly is the key to getting professional-looking results. For professionals, proper prep involves techniques like grinding, crack repairs, and vacuuming to ensure a pristine surface. Choosing a team that prioritizes these steps ensures your floor will last for years to come.
Before you start prepping your garage floor for epoxy, it’s essential to have the right tools and materials on hand. Proper equipment makes every step easier, safer, and more effective, whether you’re grinding, repairing cracks, or cleaning the surface. Here’s what you’ll need:
Many of these tools like hand grinders, disc grinders, vacuums, and moisture meters – can be rented from local hardware stores such as Lowe’s or Home Depot. Having everything ready before you start will save time and ensure you can move through each step without interruption.
Important Note: Always follow manufacturer safety guidelines for tools and materials, especially when working with chemicals or power equipment. If you’re unsure about any step, consulting a professional can save time and ensure a better outcome.
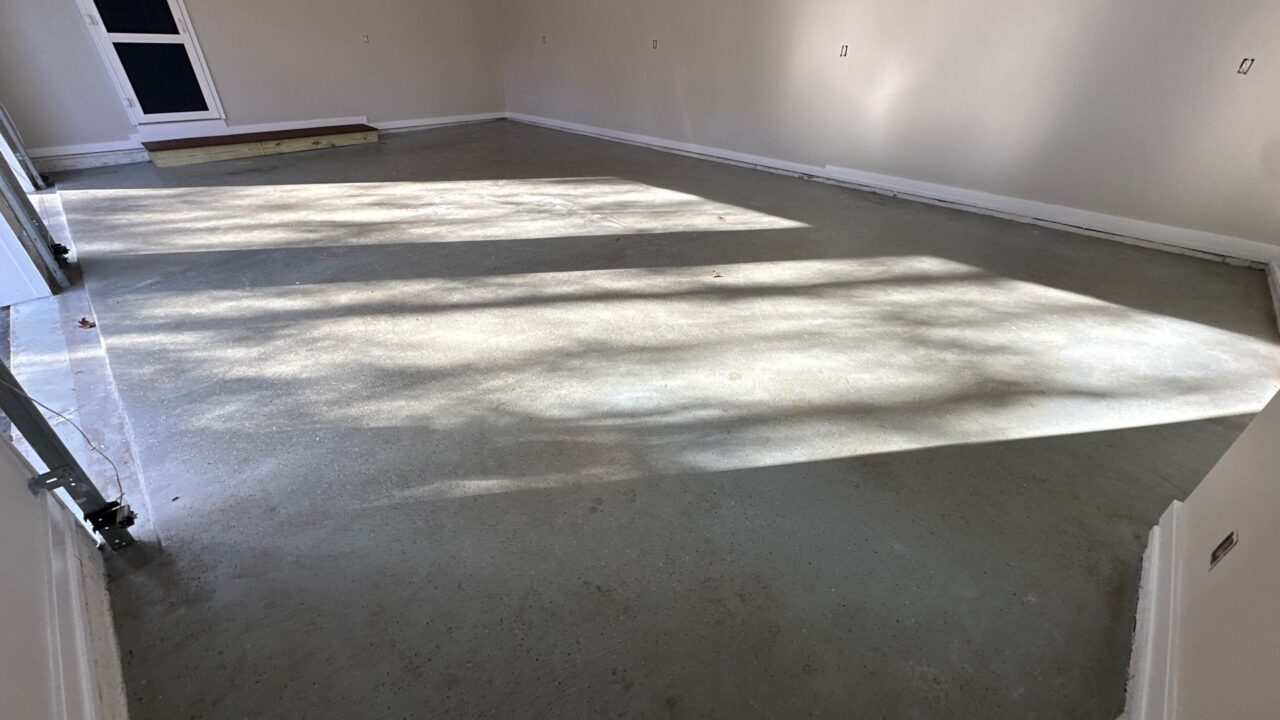
The first step in preparing your garage floor for epoxy coating is to completely clear out the space. This means removing everything – cars, tools, storage items, and even wall hangings that might get in the way of your work. A completely empty garage ensures you have the room to work efficiently and eliminates the risk of accidentally damaging your belongings during the prep process.
If you’re opting for professional installation, this is the only step you’ll need to handle. Once the space is cleared, the pros will take care of the rest, from cleaning and repairing to grinding and applying the epoxy.
Pro Tip: Don’t forget to plan where you’ll temporarily store your items. Using tarps or renting storage bins can help protect your belongings and keep them out of the way.
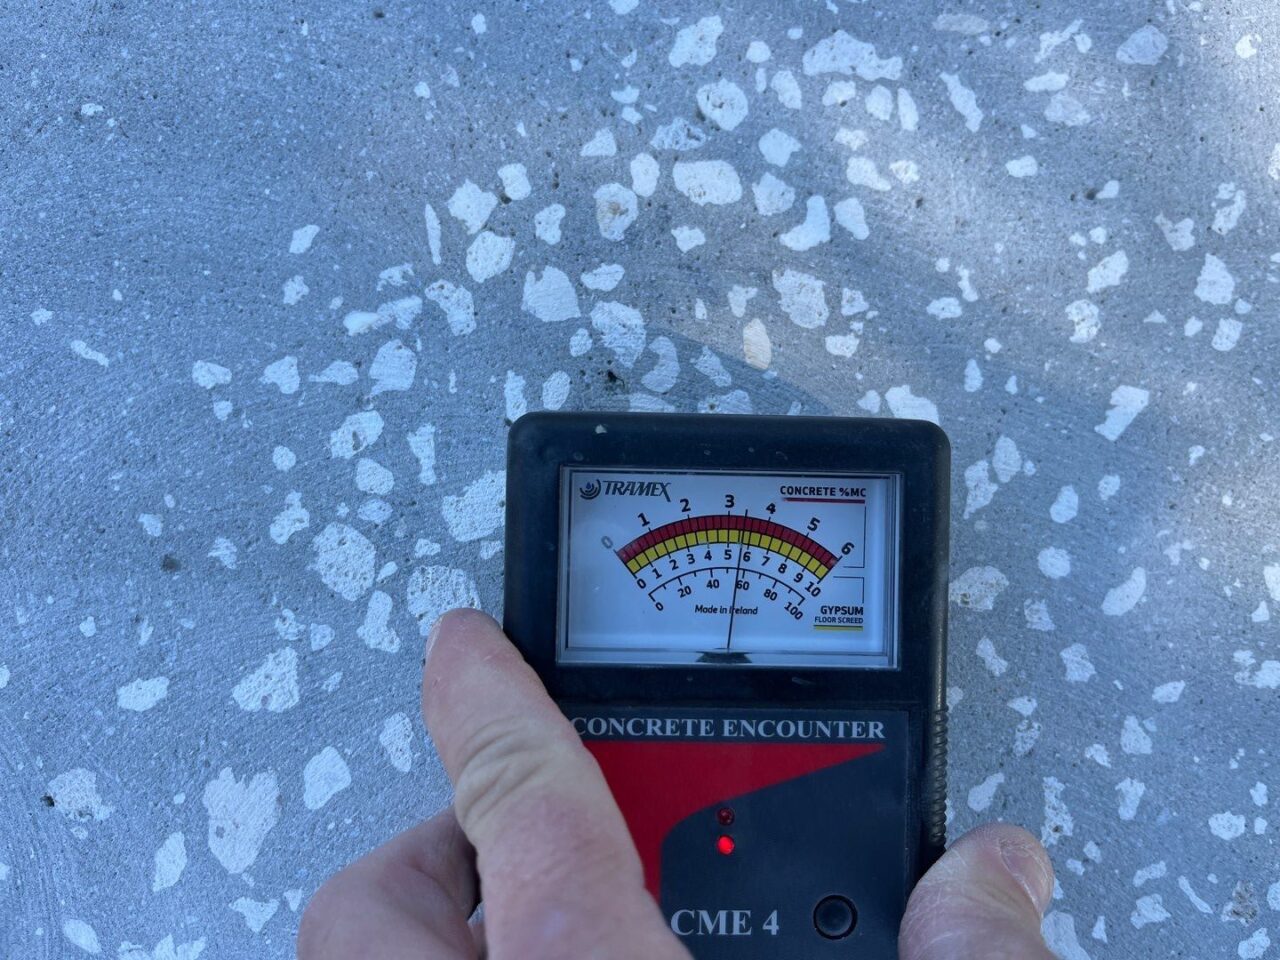
Before diving into cleaning or repairs, it’s essential to determine whether your garage floor is ready for epoxy. Two critical tests—moisture testing and porosity testing—help ensure the surface will bond properly with the coating. Skipping these tests can lead to major issues like peeling, bubbling, or poor adhesion down the road.
Excess moisture in the concrete can prevent epoxy from adhering properly and lead to long-term damage. A moisture meter, like the one professionals use, measures the Moisture Content (MC) of the concrete. This percentage reflects how much water is present in the material. For epoxy coatings, the MC should generally be below 5%, though exact tolerances depend on the product used. Moisture meters are available for rent at hardware stores like Lowe’s or Home Depot.
Alternatively, you can use the plastic sheeting method: tape a clear plastic sheet to the floor and leave it for 24 hours. If condensation forms under the plastic, your floor isn’t ready for epoxy yet.
Pro Tip: Test multiple spots across the garage floor, especially near walls, corners, or garage doors, where moisture is more likely to accumulate. This ensures a more accurate assessment.
Epoxy needs a porous surface to bond effectively. To test for porosity, sprinkle a few drops of water on the floor and observe what happens:
Just like with moisture testing, perform the water droplet test in several locations, especially in areas that may have been treated with sealants or that look smoother than the rest of the floor.
Both tests are quick but crucial steps in determining whether your garage floor is ready for a durable epoxy coating. Failing one of these tests doesn’t mean the project is over; it simply highlights areas that need extra attention before moving forward.
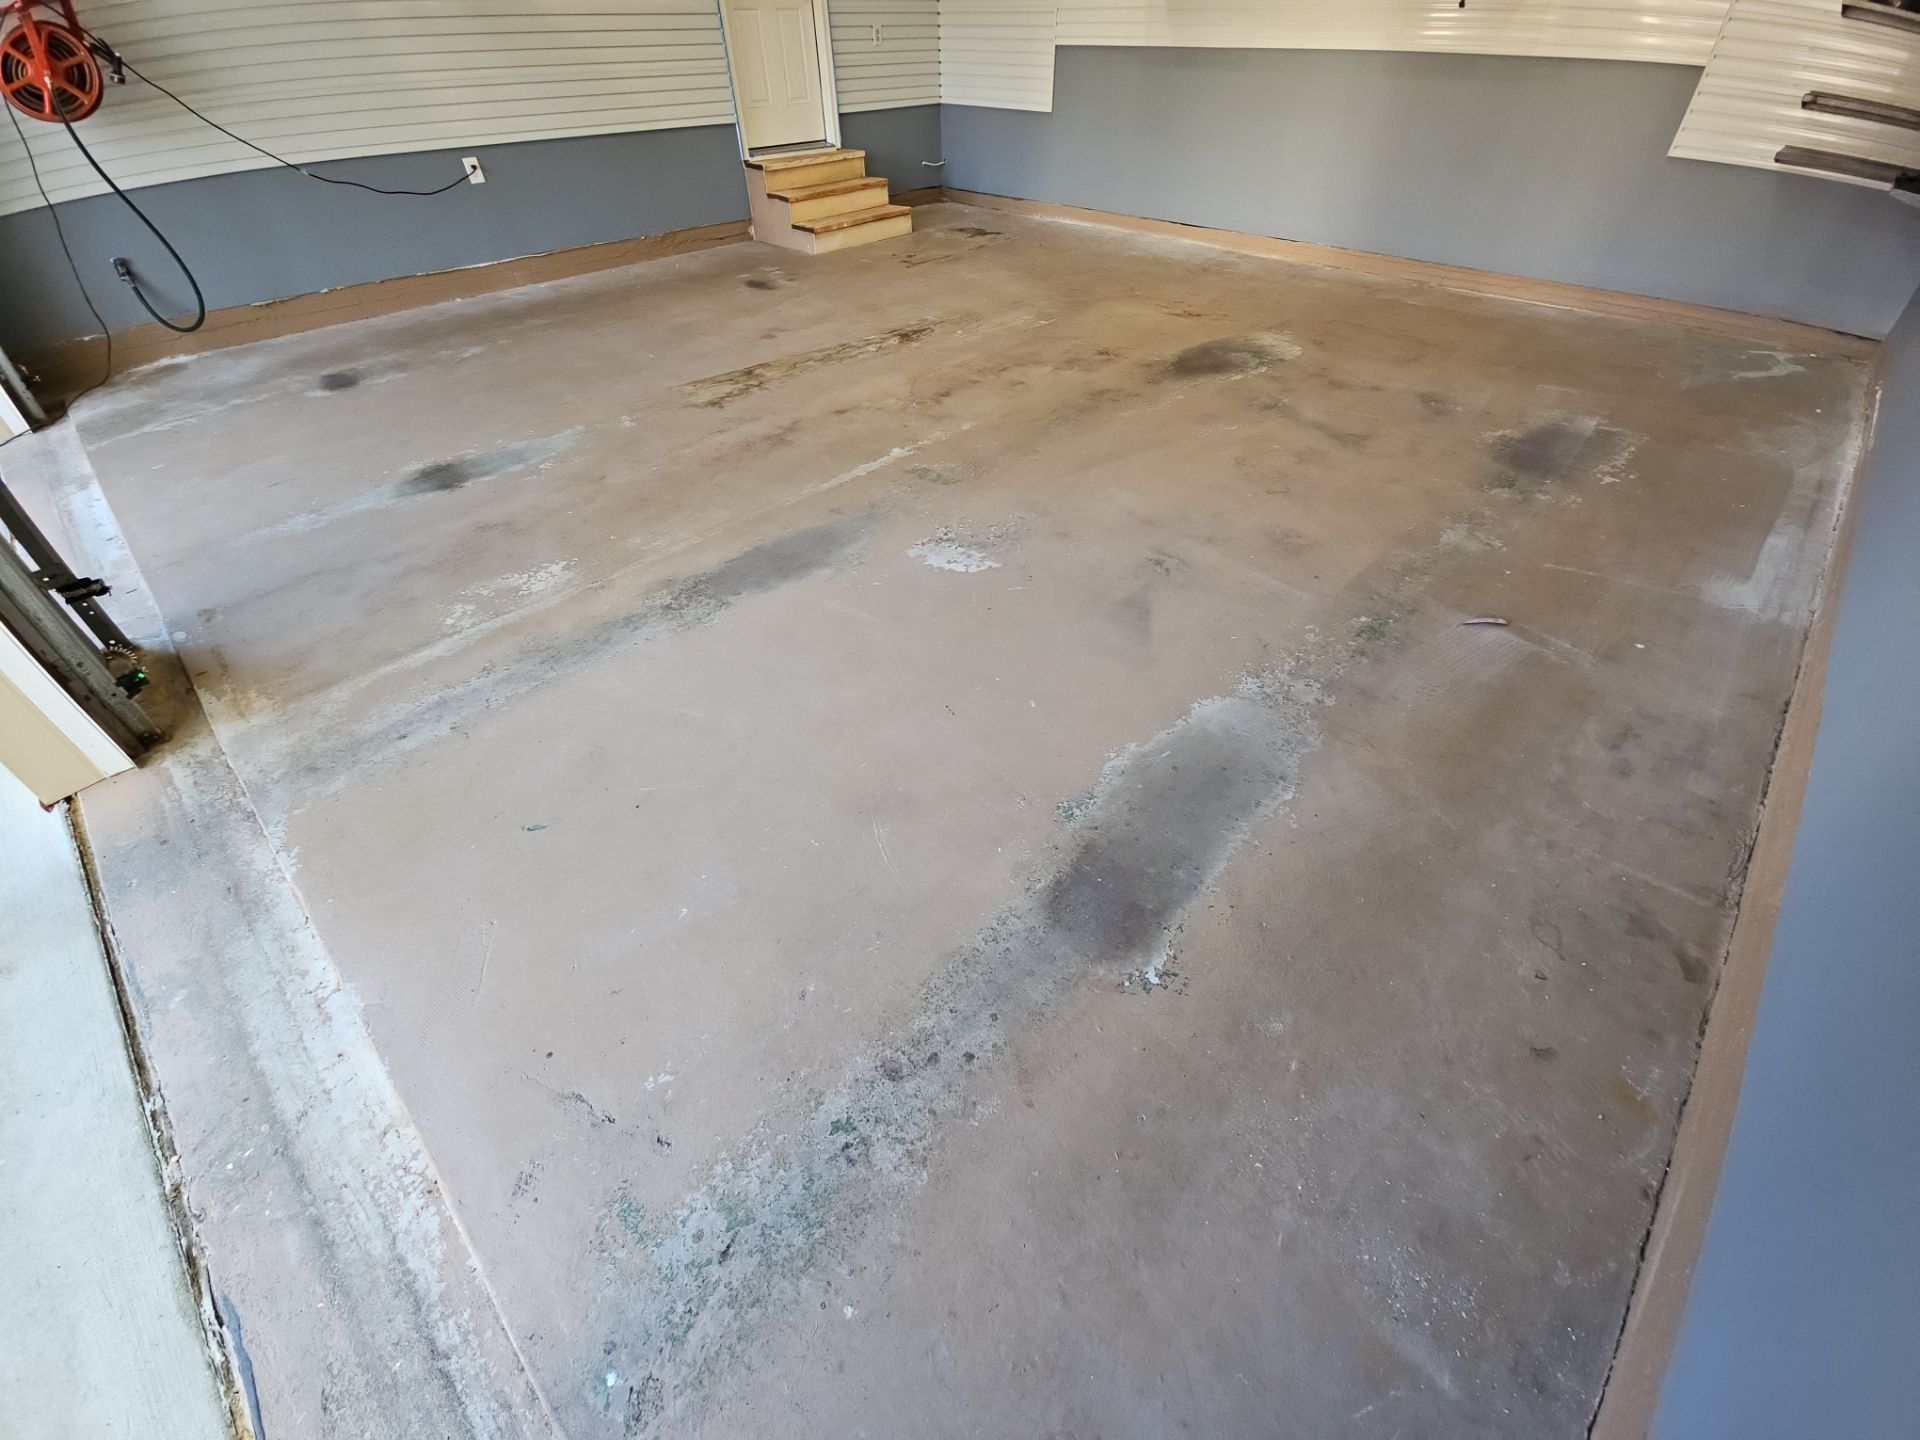
A clean surface is the backbone of a successful epoxy coating. Dirt, grease, oil, and other contaminants can prevent epoxy from bonding to the concrete, leading to peeling, bubbling, or other failures down the road. Cleaning thoroughly before moving on to repairs or surface preparation ensures the next steps go smoothly.
Start by using a concrete degreaser to remove oil and grease stains. Apply the degreaser according to the manufacturer’s instructions, scrubbing stubborn spots with a stiff-bristle brush. Pay extra attention to areas where cars have been parked, as these are often the greasiest spots. Rinse the surface thoroughly with water, ensuring no residue is left behind.
Once degreased, clean the entire floor with a mixture of water and detergent. Scrub the surface to remove dirt, dust, and other debris. Rinse the floor completely, and allow it to dry. A wet/dry vacuum can speed up this drying process by removing excess water.
Important Tip: Make sure the floor is completely dry before moving on. Even a small amount of residual moisture can interfere with epoxy adhesion, especially along cracks or edges. To speed up the drying process, consider using industrial fans, dehumidifiers, or heaters, especially in humid conditions. Drying times can vary, but an overnight wait is generally recommended.
If you plan to grind the surface (covered in Step 5), this cleaning step is still important. Removing grease and grime beforehand prevents grinders from clogging or spreading contaminants across the surface. Cleaning first also ensures you can focus on roughening the surface during grinding without worrying about deep stains or buildup.
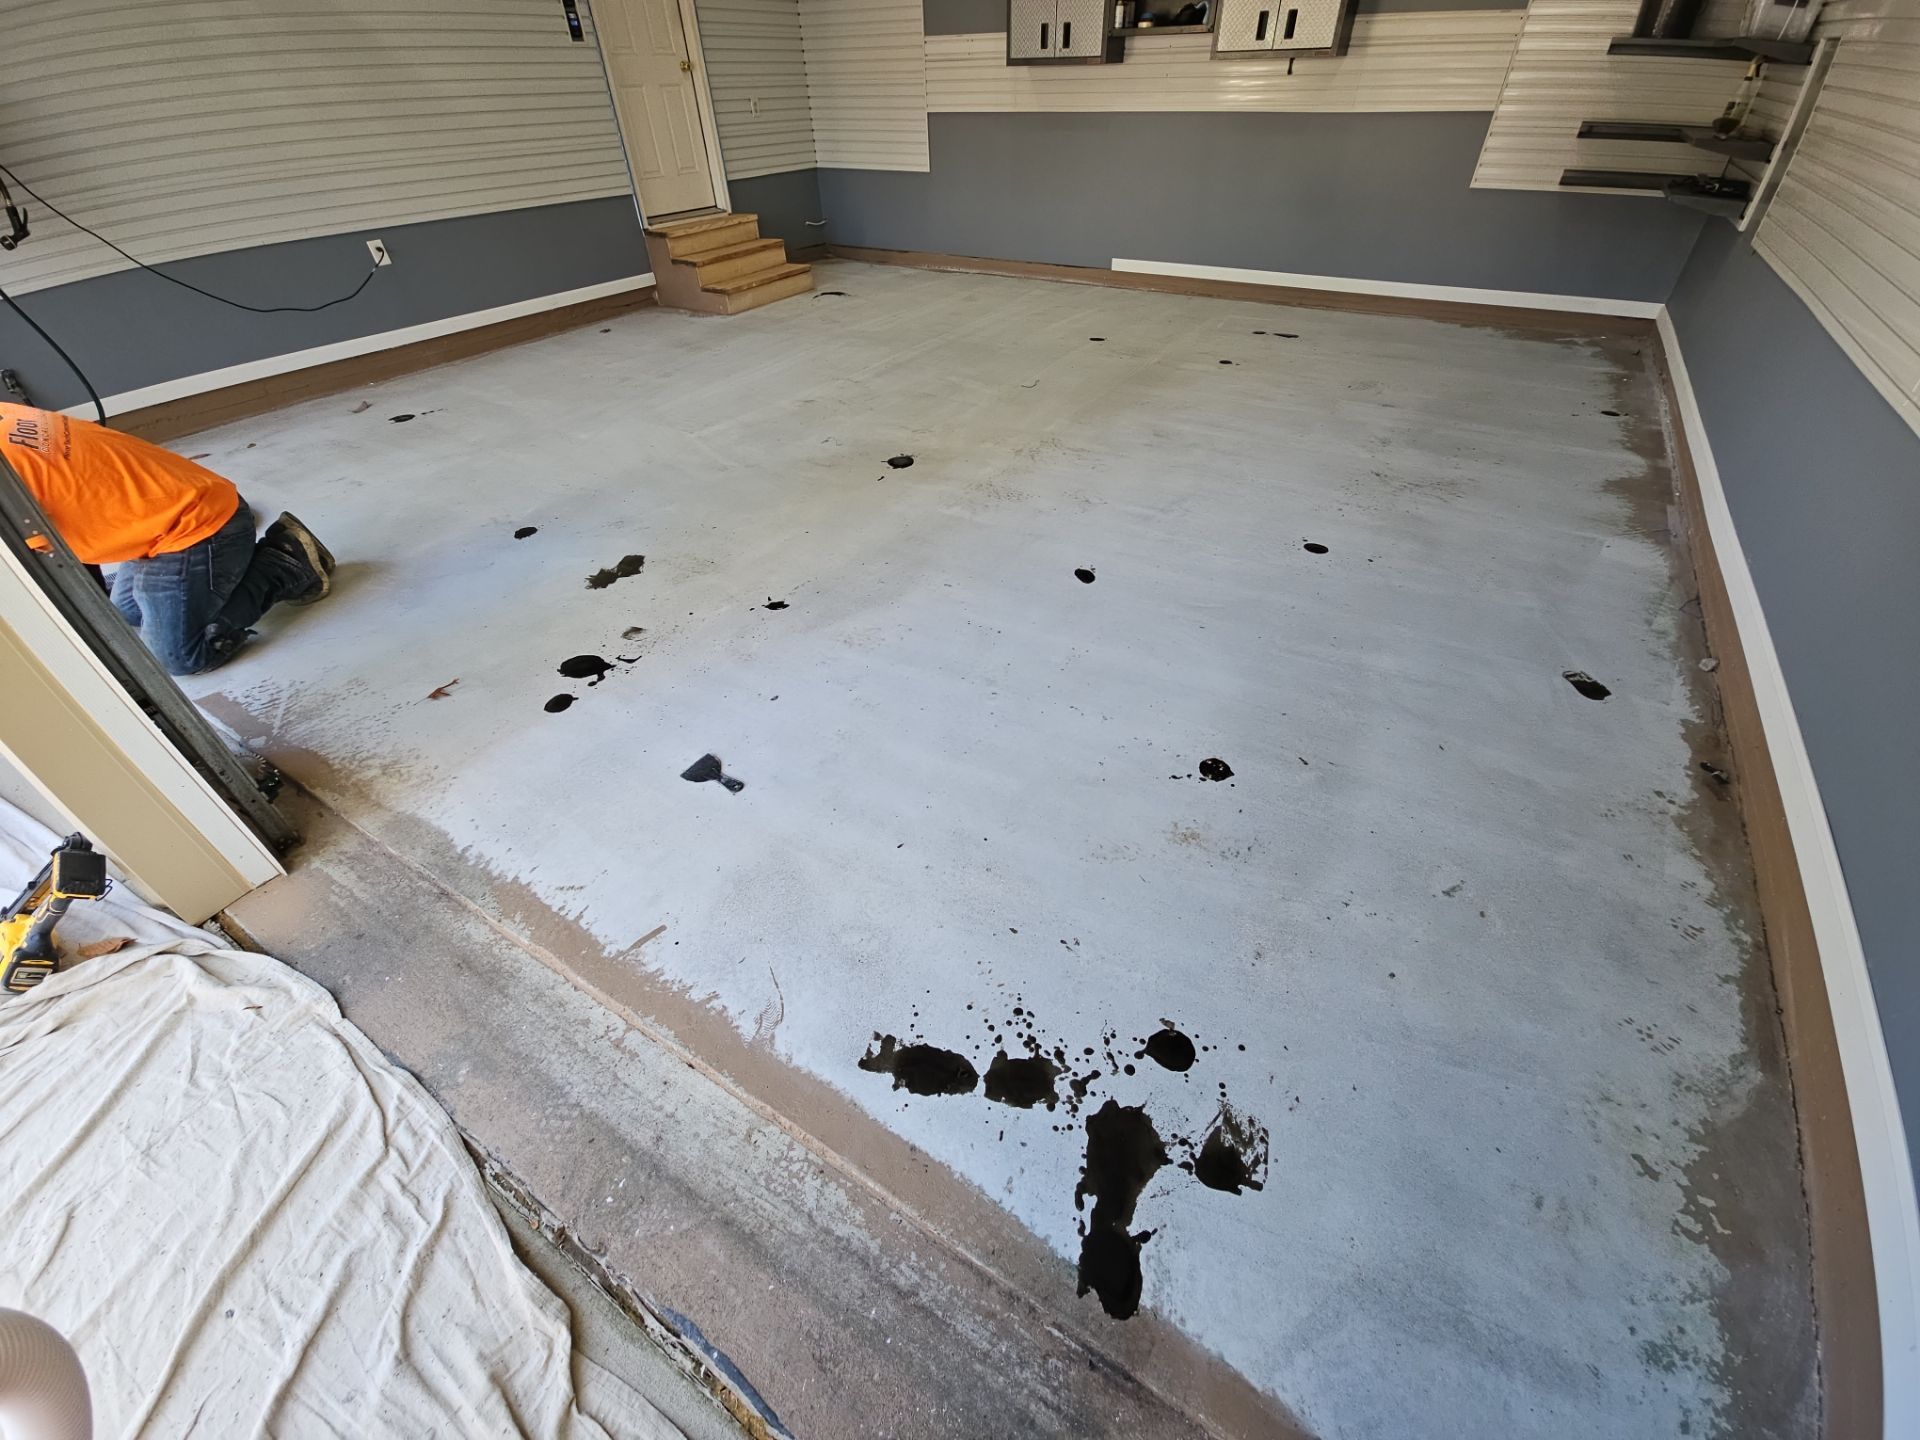
Once your garage floor is clean and dry, the next step is to inspect it for cracks, chips, or other surface imperfections. These flaws not only affect the appearance of your epoxy coating but can also lead to weak points where the coating may fail over time. Repairing damage before applying epoxy is essential to achieving a smooth, durable finish.
Carefully examine the entire floor, paying special attention to areas near corners, expansion joints, and high-traffic spots. Look for:
Use a high-quality concrete patching compound or crack filler to repair any damage:
Once the repairs have dried, run your hand or a tool across the floor to ensure the surface is smooth. Any uneven spots should be sanded or leveled before moving on to the next step.
Pro Tip: Always allow the patching compound to cure fully before proceeding. This can take anywhere from a few hours to a full day, depending on the product used.
With the floor repaired and smooth, the next step is to prepare the surface for epoxy adhesion. This involves creating a rough texture that allows the epoxy to bond securely with the concrete. There are two main methods to achieve this: grinding and acid etching. Choosing the right method depends on the condition of your floor and your access to tools.
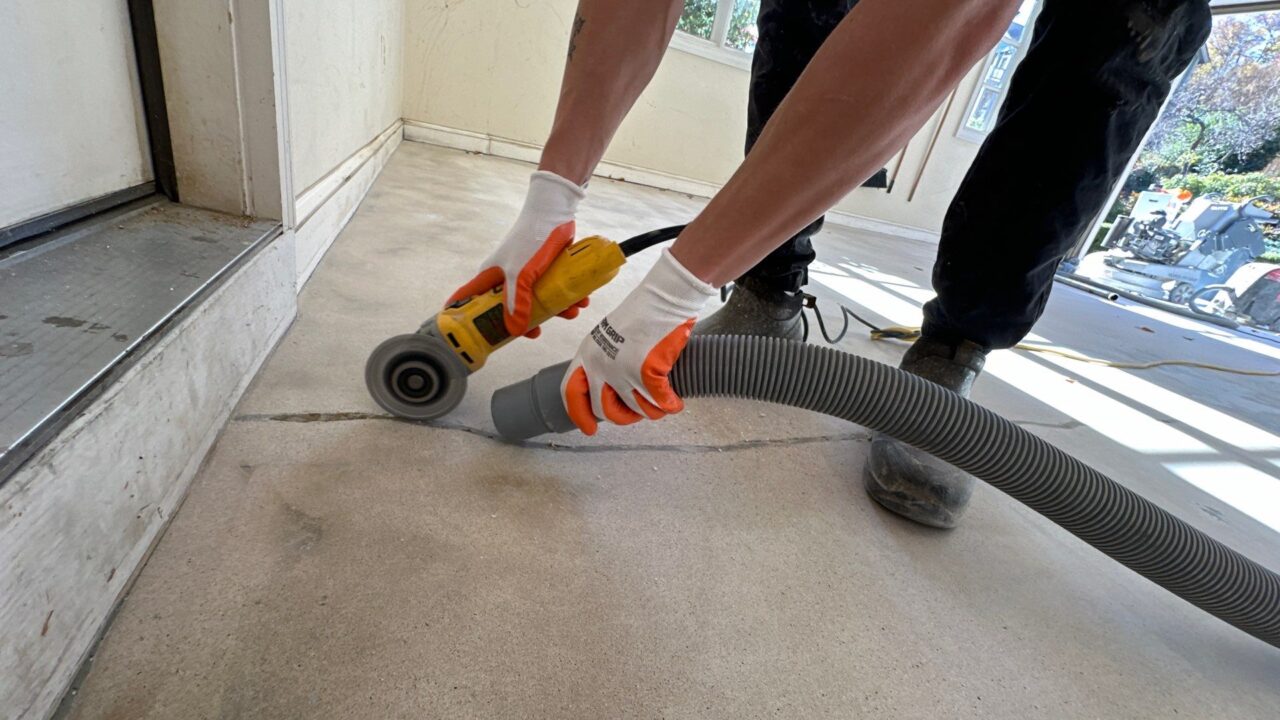
Grinding is the preferred method for professionals because it provides a consistent, controlled texture. It also removes surface contaminants and any lingering sealants or coatings that might interfere with adhesion.
For DIYers without access to grinders, acid etching is an alternative. This method uses a chemical solution to roughen the surface. While effective, it requires careful handling and is less precise than grinding.
Regardless of the method, the floor should have a rough texture, similar to the feel of 120-grit sandpaper. Run your hand over the surface to ensure it’s evenly prepped.
Grinding is best for floors with existing sealants, heavy stains, or uneven surfaces. Acid etching works well for bare concrete that’s relatively smooth and clean. Regardless of the method, the goal is to achieve a rough, porous texture that epoxy can bond to effectively.
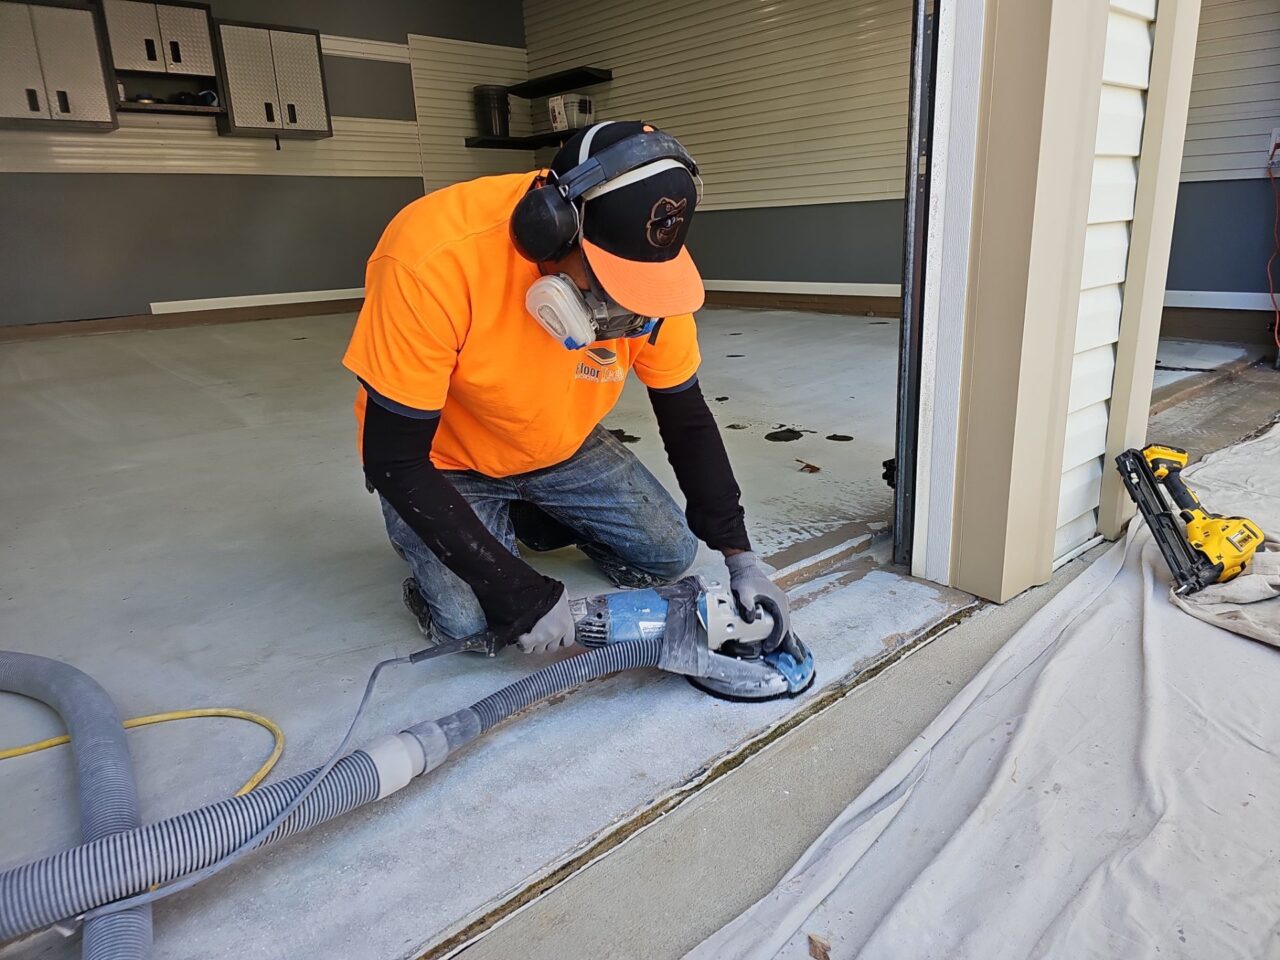
With the surface ground or etched and repairs complete, it’s time for the final step in preparation: ensuring your floor is spotless and ready for epoxy application. A clean, dust-free surface is critical to creating a strong bond between the epoxy and concrete.
After grinding or etching, fine dust or debris will likely remain on the surface. Even the smallest particles can interfere with epoxy adhesion, so thorough cleaning is essential:
Before moving on to the epoxy application, it’s crucial to double-check your floor’s readiness with a quick round of retesting:
Once the surface is clean and successfully tested, aim to apply the epoxy within 24 hours. Waiting too long can allow dust to settle or moisture to creep back in, compromising the bond.
Pro Tip: If your floor fails either test at this stage, don’t panic. Take time to readdress the problem whether it’s drying, re-grinding, or additional cleaning – to ensure long-term success with your epoxy coating.
A stunning, durable epoxy garage floor doesn’t start with the coating—it starts with the prep. From clearing your garage to testing, cleaning, repairing, and prepping the surface, every step we’ve covered plays a crucial role in ensuring a flawless finish that lasts for years.
Taking shortcuts during preparation is a surefire way to end up with peeling, bubbling, or a floor that doesn’t stand the test of time. But when you invest the time and effort to prepare the surface properly, you’re setting the stage for success. You’ll save yourself money, headaches, and future repairs by doing it right the first time.
At FloorTech, we know the value of professional preparation. Our expert team is professionally trained, and as certified Penntek dealers, we use the highest-quality coatings available. From Fredericksburg to Springfield and the surrounding Virginia areas, we deliver top-tier results that not only look amazing but last a lifetime. Plus, with our lifetime warranty, you can rest easy knowing your investment is protected.
We End Ugly Concrete! Let us help you turn your garage into a space you’re proud of. Contact us today to schedule a free consultation and see why homeowners trust us for their garage transformations.

Choose our #1 concrete coating to provide you with attractive, low-maintenance, and durable floors for high-traffic areas.
COPYRIGHT © 2024 FloorTech Concrete Coatings | ALL RIGHTS RESERVED.
Send a message, and we will get back to you as soon as we can.
We are here to resolve your doubts or concerns.